Screws Don't Lie: Reading the Manufacturing DNA Hidden in Your Vintage RC's Original Hardware
Pick up any vintage RC car that's been sitting in a garage since the Reagan administration and you're holding more history than you probably realize. Not just the sentimental kind — actual, traceable manufacturing history embedded in the hardware itself. The screws, bearings, E-clips, and hex standoffs on a classic Tamiya or Associated RC car aren't random. They're breadcrumbs that lead straight back to a specific factory, a specific era, and sometimes even a specific production run.
If you've ever bought a car at a swap meet and wondered whether it's a true original or a parts-bin Frankenstein, this is the skill set you need. Learning to read hardware isn't complicated, but it does require slowing down and paying attention to details most people scroll right past.
Why Original Hardware Actually Matters
Before we get into the how, let's talk about the why. A lot of restorers — especially newer ones — treat hardware as purely functional. A screw is a screw, right? Not exactly. Original hardware is one of the strongest indicators of authenticity in the vintage RC world. Replacement screws from a hardware store or a modern RC parts bag will almost always differ in material, finish, thread pitch, and head geometry from what came out of the factory in 1983.
For collectors trying to authenticate a build, a single mismatched fastener can raise real questions. For restorers who want to understand what they're working with before they start pulling things apart, the hardware tells you how the car was assembled, what tolerances the manufacturer was working to, and whether any previous owner went digging around in there with a standard Phillips from the kitchen junk drawer.
Start With the Screw Head Geometry
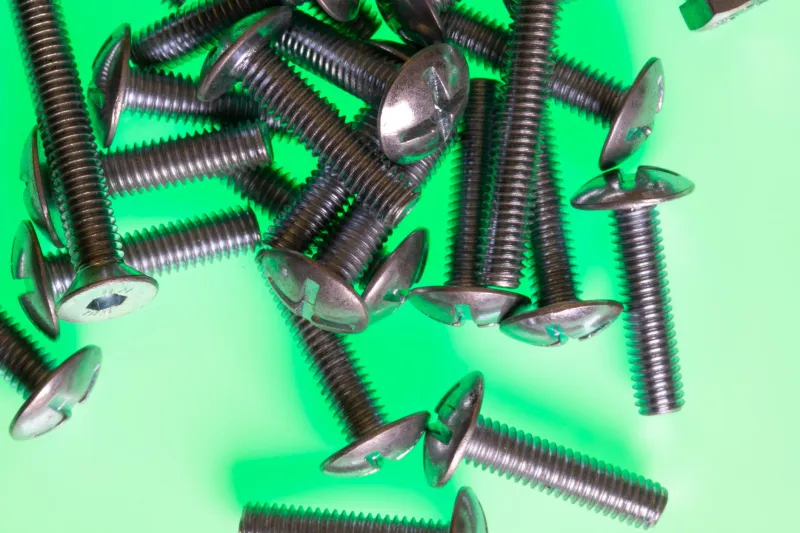
This sounds almost comically basic, but it's genuinely one of the first things to check. Japanese manufacturers like Tamiya used JIS (Japanese Industrial Standard) screws throughout the 1970s, 80s, and into the 90s. JIS screws look almost identical to Phillips screws, but the cross pattern is cut slightly differently — the angles are more precise and the recess is shallower. If you've ever stripped what looked like a Phillips head on a vintage Tamiya and couldn't figure out why, this is almost certainly the reason.
American manufacturers, including Associated Electrics, leaned more heavily on hex socket (Allen) fasteners, which became a kind of calling card for performance-oriented US builds. Early Associated cars used SAE-standard hex sizes, not metric, which is a quick way to date hardware. If you're reaching for a metric hex key on an early Associated and it fits perfectly, something's been swapped out.
Thread Pitch as a Dating Tool
Thread pitch — how tightly the threads are wound per inch or millimeter — shifted across decades and manufacturers in ways that are surprisingly useful for dating a car. Early Japanese RC hardware from the late 70s and early 80s often used coarser thread pitches than later production runs, partly because the materials being threaded (early nylon and softer aluminum alloys) didn't hold fine threads as reliably.
By the mid-to-late 80s, as manufacturing tolerances tightened and harder alloys became more common, finer thread pitches started showing up in Japanese production hardware. If you're examining a car claimed to be a 1979 build but the screws have the fine-pitch characteristics of mid-80s production, you've got a discrepancy worth investigating.
A basic thread gauge — available at most hardware stores for under fifteen bucks — is one of the most underrated tools in a vintage RC restorer's kit. It takes about thirty seconds to check a fastener and can save you from a lot of bad assumptions.
Bearing Codes Tell a Detailed Story
Bearings are where things get really interesting. Most vintage RC cars used shielded ball bearings in their drivetrain, and those bearings almost always carry manufacturer codes stamped or etched onto the race. These codes identify the manufacturer, the tolerance class, the year of production, and sometimes the specific facility.
Japanese bearing manufacturers like NMB, NSK, and Minebea supplied heavily to the RC industry during the 70s and 80s. NMB in particular was a common supplier for Tamiya. If you pull a bearing from a supposedly original vintage Tamiya and find a bearing code from a Chinese manufacturer that didn't exist until the 2000s, you know those bearings were replaced at some point. That's not necessarily a problem for a runner build, but it matters a lot if you're trying to document an original example.
Look for the alphanumeric code on the outer race. Cross-reference it against bearing manufacturer databases — several of which are freely available online — and you can often pin down not just the maker but the production era.
Metal Composition and Surface Finish
This one requires a little more experience to read by eye, but it's worth developing. Early RC hardware — particularly from Japanese manufacturers in the late 70s — often used steel with a blued or phosphate finish rather than zinc plating. That blued finish has a distinctive dark, almost matte appearance that looks nothing like the bright silver of modern zinc-plated hardware.
By the mid-80s, zinc plating became more standard across the industry, giving hardware a shinier, more uniform appearance. American manufacturers during this period also experimented more with black oxide finishes, particularly on performance hardware aimed at the racing crowd.
Aluminum hardware — turnbuckles, standoffs, shock bodies — can also be dated by anodizing quality. Early anodizing processes produced thinner, less consistent coatings. You'll often see color variation or thin spots on genuine vintage aluminum parts that modern re-issues simply don't replicate.
Maker's Marks and Country of Origin Stamps
Federal trade regulations required country of origin markings on imported goods sold in the US market throughout this entire era, and RC hardware is no exception. Small parts often carried stamped or etched "Made in Japan" or "Made in Taiwan" markings that can help you sort original Japanese production hardware from later Taiwanese-sourced replacement parts that started appearing in the aftermarket during the late 80s and early 90s.
Taiwanese-sourced hardware isn't inherently bad — a lot of it was actually quite good — but it's a different era and a different supply chain. If you're trying to determine whether a car is a true Japanese domestic market or US-import original versus a later assembly using mixed sourcing, these stamps matter.
Building Your Reference Library
The honest truth is that getting good at this takes time and exposure. The best thing you can do is start saving original hardware from parts cars and document what you find. Photograph screws next to a ruler. Note the thread pitch. Record the bearing codes. Over time, you'll build a personal reference library that becomes genuinely invaluable.
Online communities — the Vintage RC forums, Facebook groups dedicated to classic Tamiya and Associated cars, and even some corners of Reddit — have members who've been cataloging this stuff for decades. Don't be shy about posting photos and asking questions. The community is generally pretty generous with knowledge.
Your vintage RC's hardware isn't just holding the car together. It's holding the story together. Take the time to read it.