Gearbox to Glory: A First-Timer's Complete Roadmap for Building a Vintage RC Car from Scratch
Photo: Biswarup Ganguly, CC BY 3.0, via Wikimedia Commons
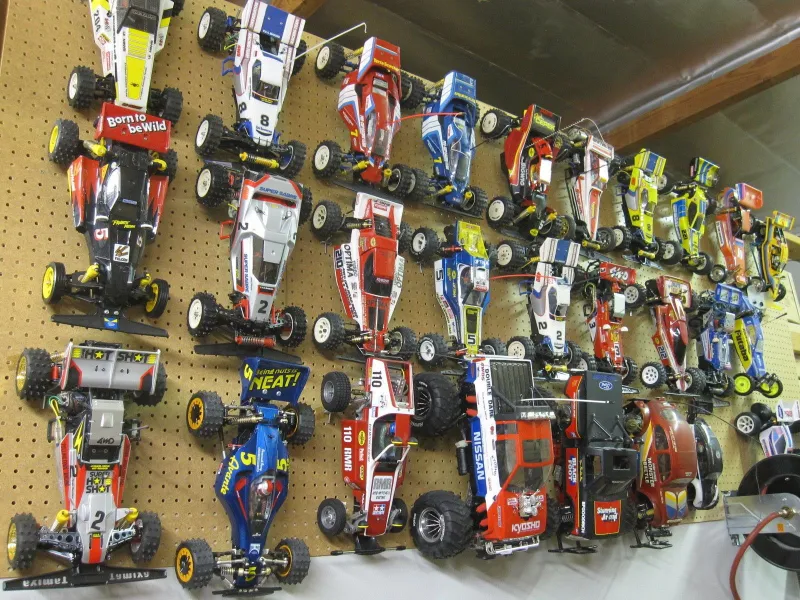
So you've caught the bug. Maybe you spotted a dusty Tamiya Grasshopper at a garage sale, or you stumbled across a YouTube rabbit hole of guys racing vintage buggies in a parking lot somewhere in Ohio. Whatever lit the spark, welcome to one of the most rewarding corners of the hobby world. Building a vintage RC car from the ground up is part puzzle, part history lesson, and a whole lot of fun—especially once you hear those wheels spin for the first time under your own power.
But let's be honest: starting out can feel overwhelming. Which kit do you pick? What tools do you actually need? How long is this going to take? This guide is here to answer all of that, and then some.
Choosing Your First Platform: Don't Overthink It
The single biggest mistake first-timers make is spending three weeks agonizing over the "perfect" kit and never actually buying anything. Here's the truth: for a beginner, the best vintage platform is the one that's affordable, well-documented, and has a strong parts supply.
A few solid entry points worth considering:
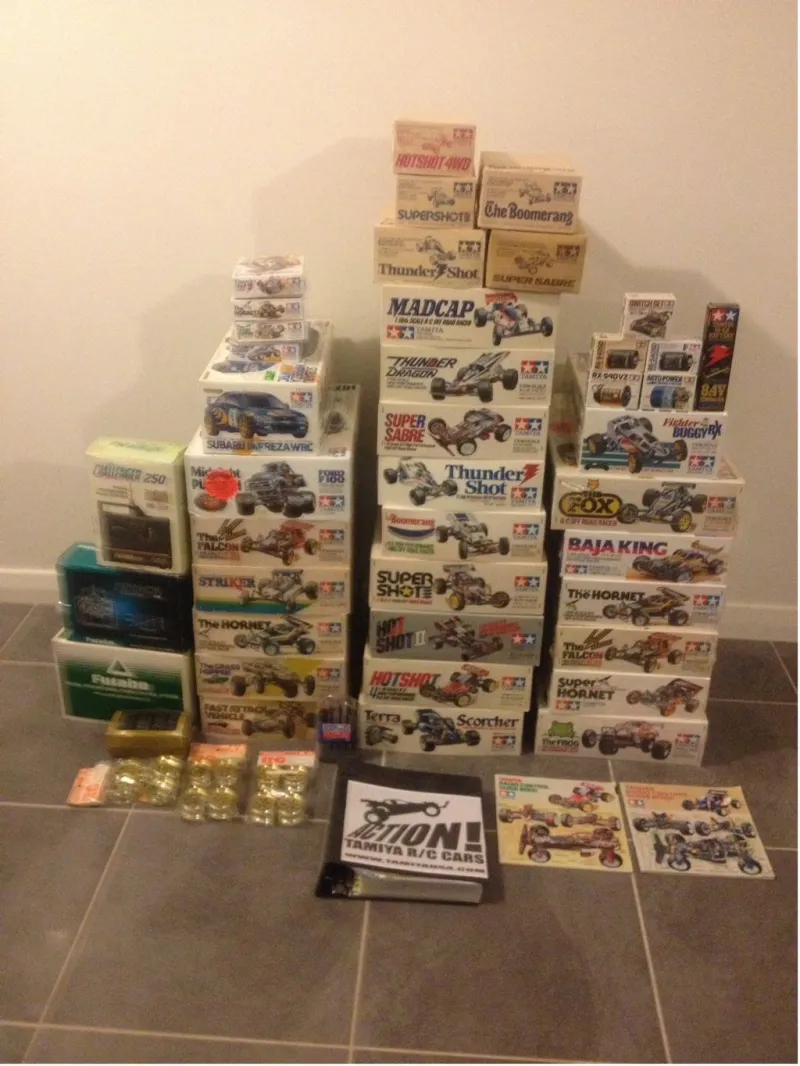
- Tamiya Grasshopper or Hornet – These 1/10 scale off-road buggies from the mid-1980s are practically the training wheels of vintage RC building. Kits still pop up on eBay regularly, re-release versions are available new, and the build manuals are legendary for their clarity.
- Associated RC10 (original gold pan) – If you want to eventually race competitively, this is the platform. It's more technical to assemble, but the community support is enormous and the racing legacy is real.
- Kyosho Optima – A beautiful 4WD buggy with a slightly more involved build process. Great second kit once you've gotten your bearings.
For your very first build, stick with something in the $80–$150 range for the kit itself. Don't go chasing a pristine NIB (new-in-box) Boomerang on your first outing. Save the grails for later.
Tools You'll Actually Use
You don't need a professional workshop, but you do need the right basics. Here's a no-fluff list of what actually matters:
- JIS screwdrivers (sizes #0 and #1) – Most vintage Japanese kits use JIS screws, not Phillips. Using the wrong driver will strip heads fast.
- Hex drivers (1.5mm, 2mm, 2.5mm) – Ball studs, set screws, and body posts are almost always hex.
- Needle-nose pliers and snap ring pliers – Essential for E-clips and small retaining rings.
- Hobby knife and cutting mat – For trimming body shells and cleaning up flash on plastic parts.
- Threadlocker (blue Loctite) – A small drop on metal-to-metal screws prevents them from backing out under vibration.
- Good lighting – Seriously. A cheap LED desk lamp will save you from losing a 2mm screw in the carpet for the fourth time.
A decent beginner tool kit from a brand like Hudy or even the Tamiya tool set will cover most of these bases without breaking the bank.
The Build Process: What to Expect Step by Step
Most vintage kit manuals are broken into numbered bags or steps, and the golden rule is simple: follow the manual in order, every single time. Skipping ahead is how you end up with a differential that has to come back apart two hours later.
Step 1 – Inventory your parts. Before you touch a screwdriver, open every bag and lay everything out. Cross-reference with the parts list in the manual. Missing anything? Better to know now than halfway through the build.
Step 2 – Build the drivetrain first. Differentials, gear boxes, and drive shafts form the mechanical heart of the car. Take your time here. Grease everything the manual tells you to grease—and use the right grease. Diff fluid weight matters.
Step 3 – Suspension and steering. Ball studs should be snug but not cranked down. Suspension arms need to move freely without slop. Check your toe and camber angles against the manual specs before moving on.
Step 4 – Electronics installation. For a vintage-style build, a brushed motor and mechanical speed control (MSC) keep it period-correct. If you want modern reliability, a brushed ESC like a Hobbywing or Mamba is a solid drop-in. Mount your receiver and servo with foam tape to absorb vibration.
Step 5 – Body and finishing. Lexan bodies get painted from the inside with RC-specific polycarbonate paint. Mask carefully, apply multiple thin coats, and let it cure fully before trimming.
Common Assembly Mistakes (And How to Skip Them)
Every builder makes these at least once. You don't have to.
- Over-tightening plastic into plastic. Vintage polycarbonate and nylon parts crack under too much torque. Snug is enough.
- Forgetting to pre-tap holes. Some kits require you to run a screw through once before final assembly to cut threads. Skip this and you'll strip the hole on the real install.
- Installing the body posts before checking electronics clearance. Always dry-fit the body shell before committing to final positions.
- Skipping the break-in on a new motor. Running a brushed motor at full throttle immediately shortens its life. A proper break-in cycle takes 20–30 minutes but pays off for months.
Realistic Timeline: How Long Will This Actually Take?
A Tamiya Grasshopper with no prior experience? Budget a weekend—maybe 6 to 8 hours spread across two days. An RC10 gold pan with attention to detail? Closer to 10–15 hours, especially if you're researching as you go.
Don't rush it. The build is half the experience. Put on a podcast, spread out on the kitchen table (your partner will forgive you eventually), and enjoy the process.
Getting It to the Track
Once the build is done, find your local vintage RC racing scene before you head out. Organizations like the ROAR (Radio Operated Auto Racing) sanction events across the country, and many local clubs host dedicated vintage classes. Online communities like RC Universe and various Facebook groups specific to your platform are goldmines for setup advice and local race calendars.
Start with a basic setup, run a few practice sessions, and resist the urge to chase a perfect tune right away. Learn how the car drives first.
Building your first vintage RC car is one of those things that sounds intimidating until you actually start—and then you'll wonder why you waited so long. The plans are here. The community is here. All you need to do is open the box.